|
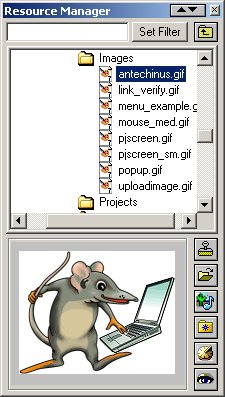
Resource Manager is a powerful tool that allows you to preview images, animations, videos and sound files, organize them, transfer them to your resource folder, and insert them into your web pages with a variety of options.
|
 Images: you can preview images in a number of different formats but Web browsers commonly support only gif, jpg, and png. If your images are in a different format, convert them into a browser-supported format using Animator Professional, or some other imaging tool. We recommend Animator Professional because it supports a huge number of formats, and allows you to batch-convert multiple images in one go. Images: you can preview images in a number of different formats but Web browsers commonly support only gif, jpg, and png. If your images are in a different format, convert them into a browser-supported format using Animator Professional, or some other imaging tool. We recommend Animator Professional because it supports a huge number of formats, and allows you to batch-convert multiple images in one go.
Sounds and videos: all browsers support the <Embed> tag, but you should keep in mind that loading the resource will slow down the rendering of your page. If your resources take lots of disk space loading could take significant amount of time when you publish your pages on the Internet.
If you do not use the <Embed> tag, the program automatically constructs a Media Player object, which gives you more options. Keep in mind that Media Player and other ActiveX controls only work on Internet Explorer.
Shockwave: this popular multimedia format is well supported, but older browsers may require a plug-in. Code generated by JavaScript Editor will automatically request the plug-in download, if it is not already in place.
JavaScript: you can use the resource manager to open *.js files for editing in JavaScript Editor.
|
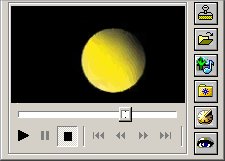 |
Apart from viewing images, the preview allows you to play (pause, rewind, etc) animations, videos and sound files, to help you decide whether you want to insert them into the document. |
 |
Insert Resource: places the resource into your web page. |
 |
Open Selected Resource: gives you the choice between opening the resource in JavaScript Editor, or in its native application. For images, a native application is typically some image-editing program. |
 |
Open Clipart Folder: directs the Resource Manager to browse the Clipart folder. Alternatively, you can change the location of your Clipart folder. |
 |
Open The Document Folder: opens the folder where the current document is stored. |
 |
Open Folder History: allows you to open one of the folders from the list of folders you have previously inserted the resources from. |
 |
Toggle Resource Preview: switches the resource preview on and off. |
|
Set Filter: allows you to display only the files having the extension(s) you specify.
For example, typing the word gif and clicking on the Set Filter button displays only files having the .gif extension.
Leaving this field empty shows all the files in the selected folder. |
|
Up One Level: allows you to open the parent folder for the currently selected folder. |
 |
This toggle minimizes the Resource Manager, giving you the maximum editing space.
To restore the Resource Manager to its normal size, click the toggle again. |
 |
Right Click: To assist you in organizing your resources, the Manager opens a context-sensitive menu each time you right-click on the name of a folder or a file.
The menu options depend on the type of the file that you have selected.
|
|