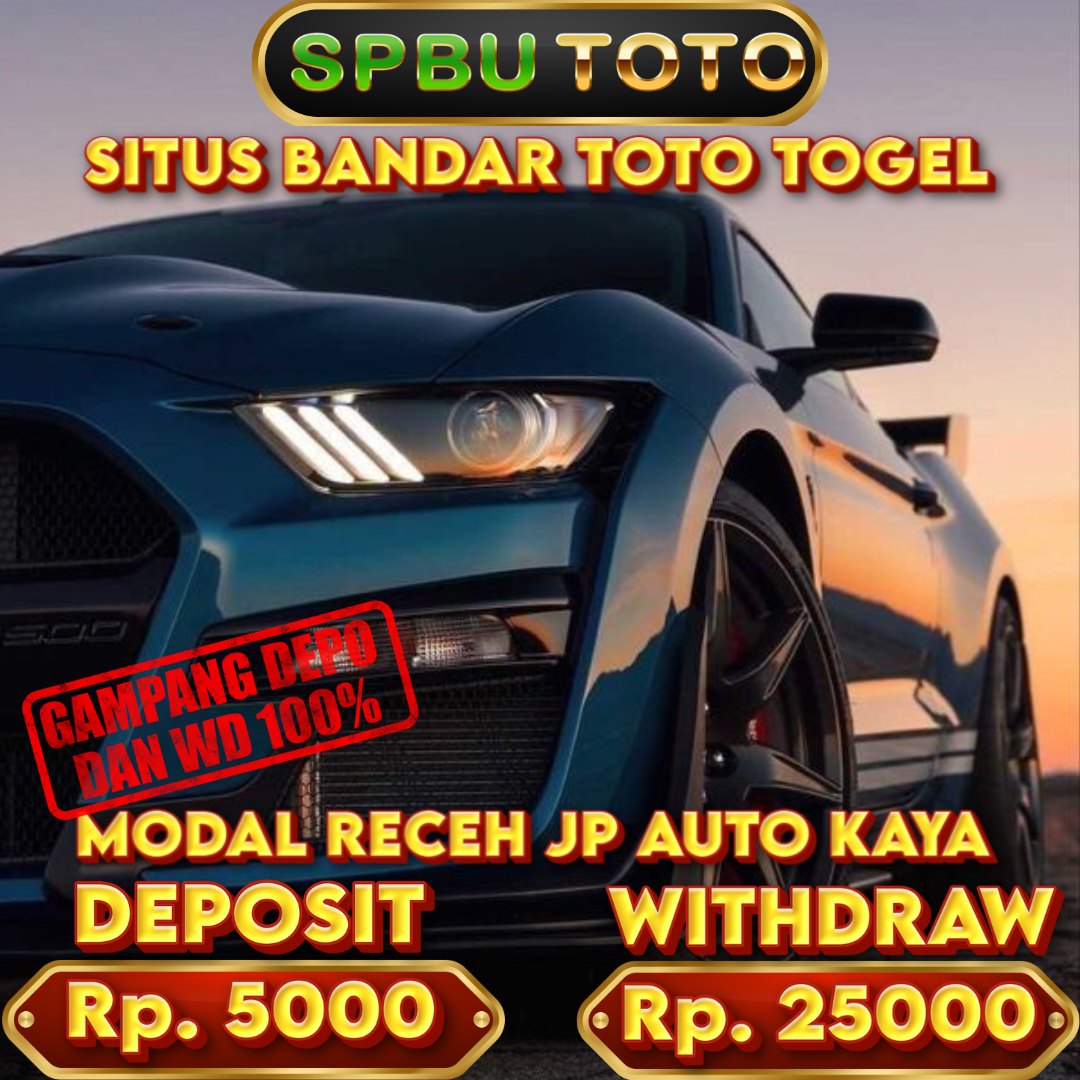
Give your web pages a real edge with JavaScript Editor


Debugging and Testing

Contents | JavaScript Editor reference
"All About JavaScript" forum
JavaScript Editor home


At present, different vendors implement different debugging mechanisms for their browsers (Internet Explorer, Netscape Navigator, and Firefox are significantly different in this respect). Antechinus JavaScript Editor provides a simple debugging model, which allows you to trace the state of your objects and variables.

For speedy testing, the Editor also allows you to call any JavaScript function that is available to the Web page, specify the parameters, and observe the return value (see Testing below).

Debugging

How to enable debugging

To enable debugging, please  place the cursor inside the <HEAD> section of your HTML document, then select HTML / Debug   from the menu and click OK. The Editor will do the following:

Paste one line of code into your document:

<script language="JavaScript" src="Debugger.js"></script>

Copy one tiny file into your document directory:

Debugger.js (3KB)

After that, you will be able to trace your variables and objects and debug your scripts:

Select View / Internal Page Viewer from the menu (or press F5)

At any stage you can inspect what any selected variable holds: inside your document editing view, double-click on a variable to select it (or use the mouse to highlight it), and select Build / Inspect Variable from the menu (or press Shift+Ctrl+V).

Inspect Variable allows you to dynamically examine what the selected variable holds at run-time.


Writing debugging code

To trace your variables and objects, use the following functions from the Operators menu:

PROPERTIES (label, obj);
This function lists all the properties of a given object, e.g. if your HTML document has an image defined as follows:
<IMG name="MyImage" style="position:absolute; left:20;top:200" src="MyImage.gif">
then to test for the properties of this object in your JavaScript code, use the following call:
PROPERTIES ("MyImage properties", MyImage);

TRACE (label, expression);
TRACE0 (expression);
TRACE and TRACE0 allow you to trace your variables (or entire expressions).

For an example, please see RolloverSound.htm in your Debugger directory.

To start debugging, select View / Internal Page Viewer from the menu.

Debugging JavaScript code

Output from PROPERTIES (), TRACE (), and TRACE0 () will be displayed in the small debug window. If the window is obscuring a part of the page you wish to see, click on the window border (the pointer will change to a hand) and drag it to a different location. You can also customize the appearance of the debug window by using the following variables in your JavaScript code:

    DbgX=0; DbgY=0; Specify the initial X, Y location of the debug window.

    DbgWidth=500; DbgHeight=120; Specify the size of the debug window.

    UseTimeStamp=1; If this option is used, every trace will display the elapsed time from the last trace call, which is useful for timing your functions.

How to disable debugging before publishing your pages on the Internet

Debugger.js is a tiny file that only adds the total of 3KB to your projects, and it should be left in place so that you could reactivate debugging every time you need it. To disable debugging, open Debugger.js and change Debugger=1; to: Debugger=0;
This stops any of the debugging code from executing.

Testing: calling JavaScript functions

Antechinus allows you to call any JavaScript function that is available to the Web page, specify the parameters (if any), and observe the return value. This advanced feature makes testing a breeze: to test a function you no longer have to code a driver function, or set alerts to see the return value, and remove them when you no longer need them. 
The following example illustrates how to call functions from within the Editor:

In the Project pane, open the Solutions / Cookies solution and double-click Cookies.htm and Cookies.js  to open them in the Editor. ( Cookies are stored in a text file and used by your browser. They consist of name=value pairs, with some optional information - expiration time, path, domain, and the "secure" keyword. Cookies.js has functions that allow you to store and retrieve cookies. )

JavaScript solutions pane

Click on the Cookies.htm tab to make it the active window, and select  View / Internal Page Viewer from the menu to view the page

Internal page viewer

Click on the Cookies.js pane to make it the active window, then click on the SetCookie() function to select it, and right-click to display the pop-up menu

Select the Call option. The Call JavaScript function dialog appears. The SetCookie () function is selected, and  the parameter list is displayed.

Type the name and the value parameters like in the example above. You can leave the remaining parameters (expires, path, domain, and secure) empty. Click OK.

The function was invoked, and the cookie was stored. The function has no return value, which shows in the status line.

To verify that the cookie was stored, now call the GetCookie () function, and specify "JavaScript Editor Site" as the name of the cookie. GetCookie (name) returns the cookie value, or null if the cookie has not been set, and shows it in the status line.

You can also open the Call JavaScript function dialog by clicking on the  button. The dialog maintains the history of all the calls that you made to the given page, allowing you to re-use the calls.